Navigating the digital realm has become increasingly essential in our daily lives, and accessing banking services online is no exception. For beginners, diving into the world of internet-based banking might seem daunting at first. However, with a bit of guidance, you'll be efficiently managing your personal essentials from the comfort of your own home in no time. Here’s a comprehensive tutorial to help you adeptly navigate internet banking platforms.
Step 1: Getting Started
Selecting Your Platform
The first step is to choose the platform you'll be using. Most traditional banking institutions offer their own online portals. Visit your bank's official website and look for their online service registration option.
Registering Your Account
To begin, you'll need to register an account on the platform. This typically involves entering your personal details, including your email address and phone number. You may also be asked to set up security questions or provide some form of verification, such as a code sent to your phone or email.
Step 2: Logging In
Once registration is complete, return to the main page and enter your login details. You’ll usually need your username and the password you created during registration. For added security, some banks offer two-factor authentication, requiring you to confirm your identity through an additional code sent to your phone or email.
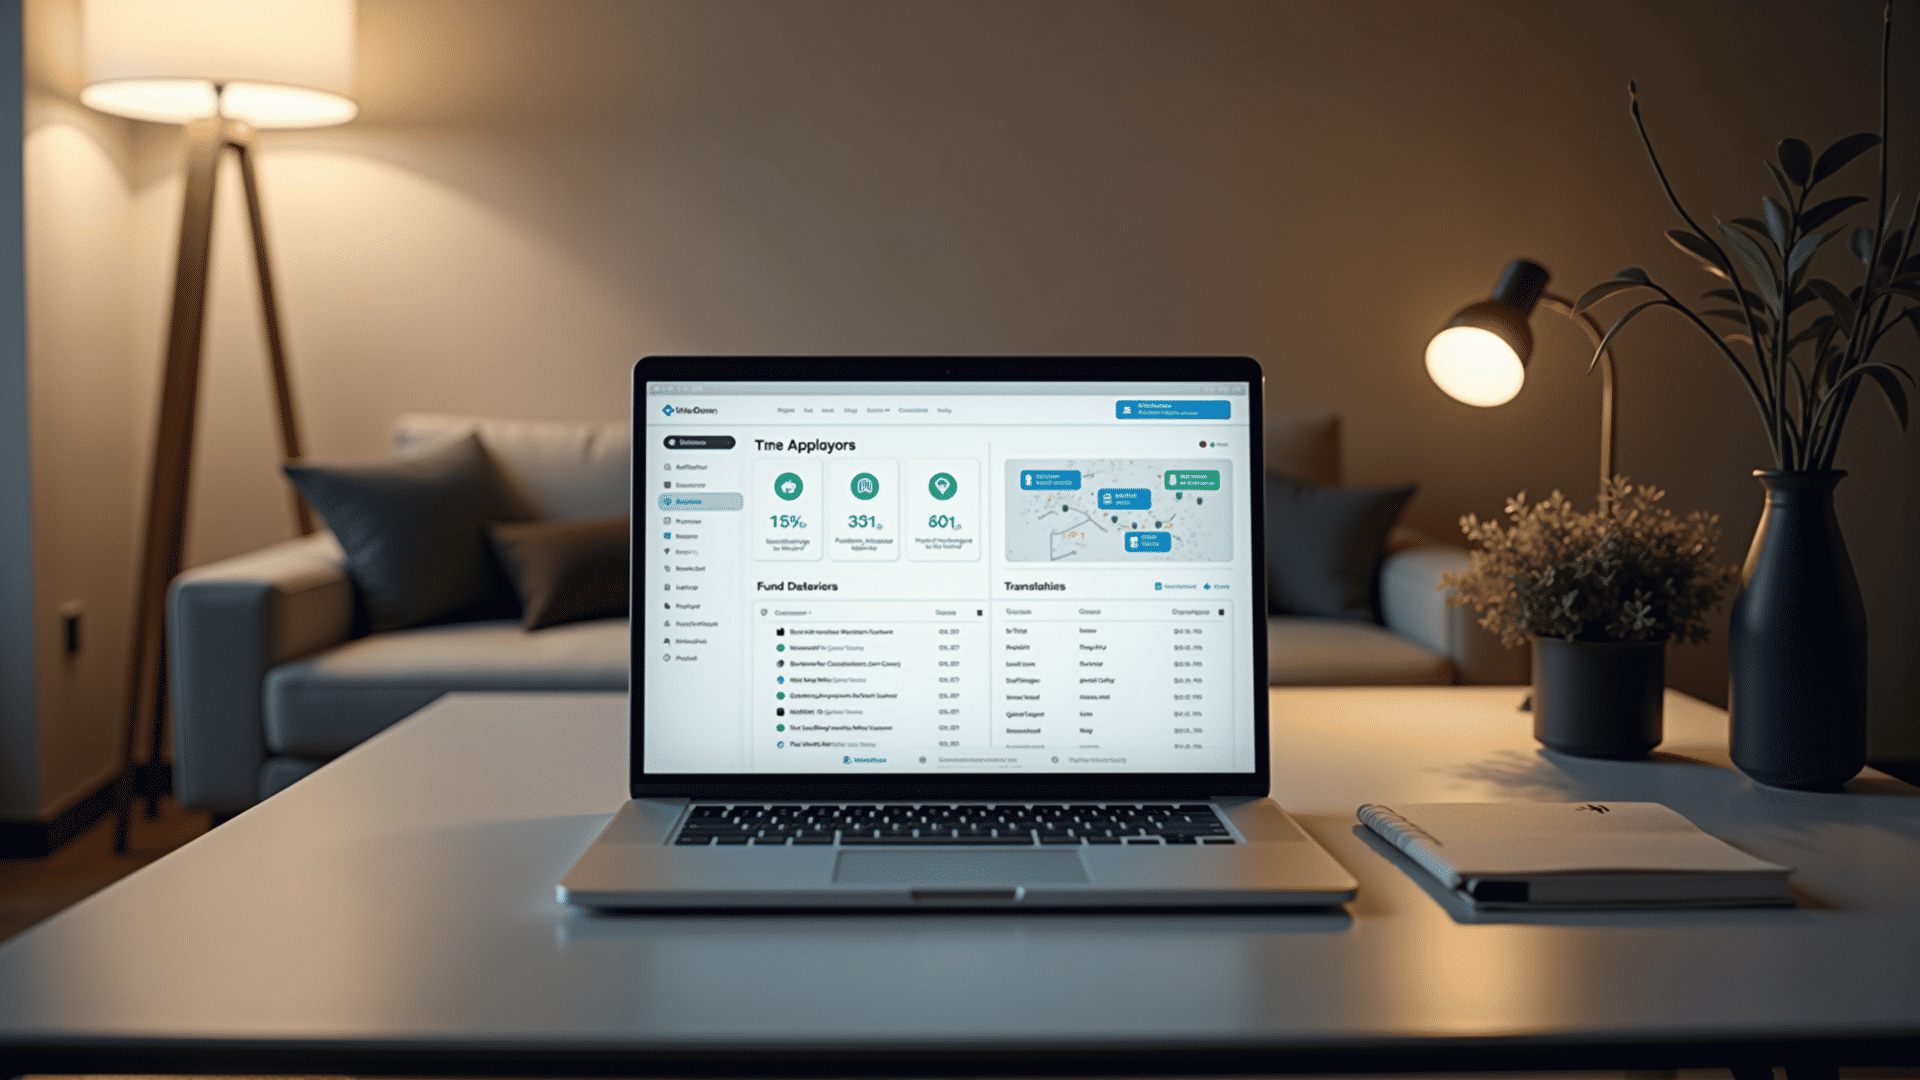
Step 3: Familiarizing Yourself with the Dashboard
Upon logging in, you'll be taken to the dashboard. This is the main hub where you can view your personal details. Get comfortable with navigating through different sections such as account summaries, transaction history, and settings.
Step 4: Checking Balances and Transactions
Viewing Balance
One of the primary uses of internet banking is checking your balance. On the dashboard, there will be a section displaying your current balance.
Reviewing Transactions
You can also review past transactions. This section will show you the date and details of each transaction, allowing you to keep track of your personal activities effortlessly.
Step 5: Transferring Funds
Internal Transfers
Most platforms offer the option to move assets between your own accounts. Look for a tab labeled "Transfers" or similar to start this process. Select the accounts you wish to move between, enter the amount, and confirm the transfer.
External Transfers
To transfer assets to someone else, you'll need the recipient's details such as their account number and the bank's routing information. Follow the on-screen prompts and make sure to double-check the information for accuracy before confirming.
Step 6: Setting Up Automatic Payments
Many platforms provide an option for automatic payments, allowing you to schedule recurring transactions. This can be especially handy for paying regular bills. Look for a "Bill Pay" or similar section, where you can set up recurring amounts and specify frequencies to ensure your payments are always up-to-date.
Step 7: Ensuring Security
Ensuring the security of your online activities is crucial. Regularly update your password and familiarize yourself with the platform's security features. These may include activating alerts for suspicious actions or setting up biometric logins if available.
Step 8: Exploring Additional Features
Online platforms often offer a range of additional features such as personalized insights into your habits and online chat support for any queries. Take some time to explore these extras to maximize your online experience.
By following these steps, you should now feel more confident in navigating the vast array of features your internet banking platform has to offer. From checking balances to setting up automatic payments, these conveniences make managing your personal matters easier than ever. As you grow more comfortable with the platform, you'll likely discover even more tools that can cater to your specific needs. Happy banking!